Mottle tips & strategy
The short version: stop before the light reaches you, not when it does, treat fireflies as optional, and never move while a cone is on you. Here’s why each of those works, using the game’s real numbers.
How to hide from Seekers
Let go early: you need about 0.7 seconds
Blending isn’t instant. After you release, Camo needs about 0.7 seconds before Seekers stop noticing you. If a cone reaches you in that window, Alert still jumps: about 21% for one cone and up to 50% for four. So judge the cone’s swing and stop a beat before it arrives. Stopping early costs you a fraction of a second; stopping late can cost a life.
Once you’re hidden, don’t twitch
At full Camo a cone can sit right on you and Alert won’t move. Seekers can even walk past you. But the instant you move you’re at least half visible, so a nervous little shuffle inside a cone is the most common way to get caught. If a cone is on you, wait it out.
Any stone will do
Players often look for the “right” colour to hide on. There isn’t one: the creature always takes the exact colour of the stone beneath it, and every stone works the same. Pick where to stop by where the cones aren’t, never by colour.
Respect the scan
When a Seeker reaches the end of its walk it stops to look around about half the time. During that 1.7-second scan its cone nearly doubles in width (to about 109°) and sweeps back and forth. If you see a Seeker pause, don’t start a run near it. Wait for it to pick a new direction.
Watch where cones overlap
Each extra cone on you adds 45% to how fast Alert fills. Running through two cones gets you spotted in about 1.3 seconds, and four in under a second. In rounds 6 and up, plan routes around the gaps between Seekers, not just around one of them.
Alert lab: how long until you’re spotted?
Uses the game’s own Alert numbers. Pick a situation and press play to watch the meter fill in real time.
Spotted in 1.80 s
Alert hits 100% and you lose a life. The round restarts.
How to break a chase
Freeze first, then think
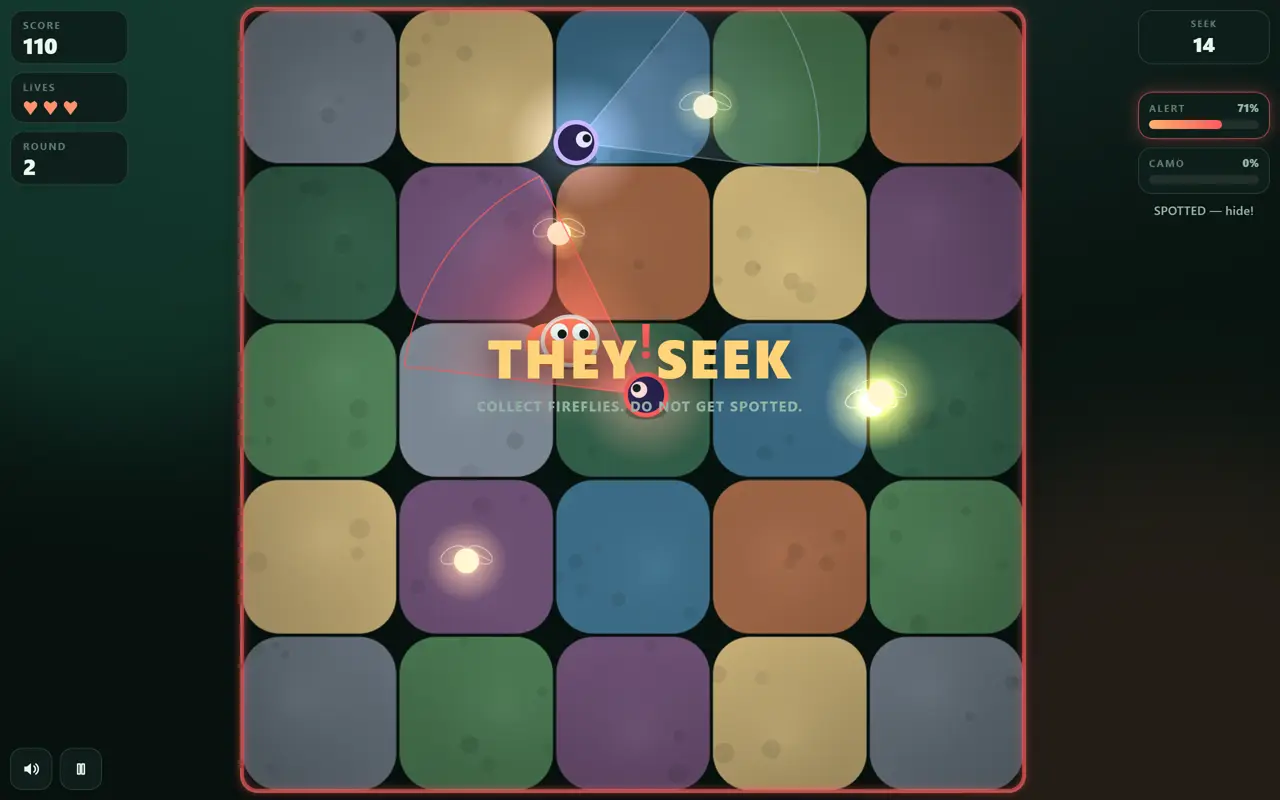
A Seeker that spots you turns its cone on you and follows. Stop moving: once you’re blended it can’t “see” you any more, and it gives up after 1.1 seconds without sight. Meanwhile Alert drains at 26% a second, so from 70% you need under three seconds of calm to be back at zero.
Or outrun it, then freeze
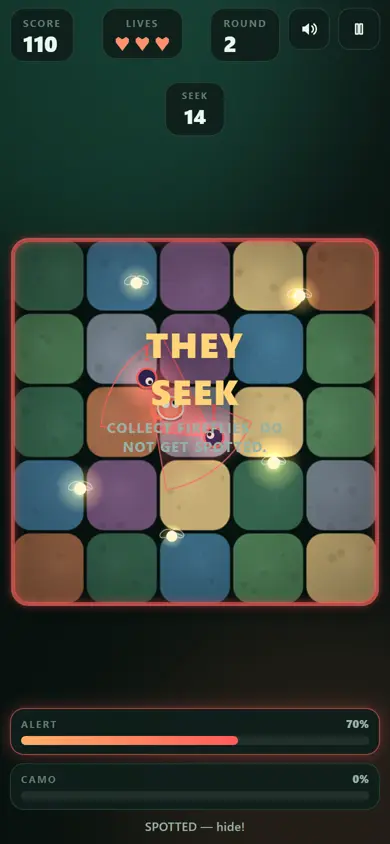
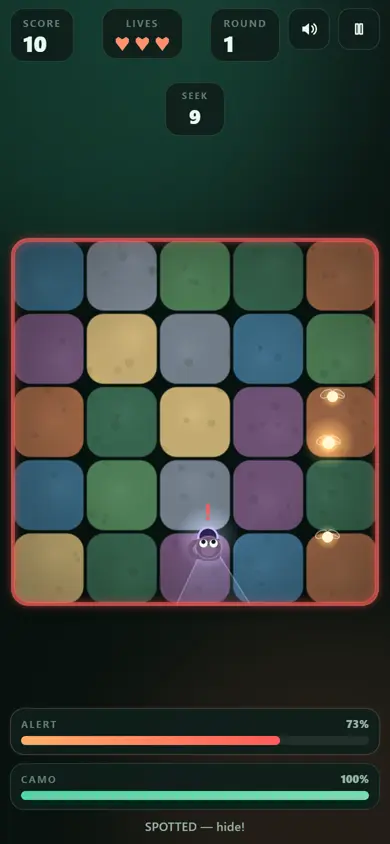
Even chasing, Seekers move at most about three-quarters of your speed. If you’re caught in the open with Alert still low, a short dash out of the cone followed by a stop works. Just don’t keep running inside the cone: that’s 1.8 seconds to a lost life.
How to score higher
Fireflies are a tip, the round is the wage
A firefly is 10 points. Clearing a round is 100 × the round number. Nine fireflies in round 6 are worth 90; surviving round 6 is worth 600. If a firefly sits under a busy cone, skip it. Losing a life to grab one is the worst trade in the game.
Take the cheap ones early
The best moment to collect is right after “They Seek” appears: Seekers start at the edges facing the middle, and their cones don’t reach you yet. Grab what’s near and safe in those first seconds, then hide and wait for openings.
The last seconds belong to survival
The round ends when the timer reaches zero, collected or not. When the final three seconds start ticking, there is nothing left worth moving for. Find a spot outside the cones, let go, and collect your bonus.
A failed round refills its fireflies
If you do get caught, you keep your score and the round restarts with the same fireflies in the same places. It’s a consolation prize, not a strategy, but it means a lost life isn’t a total loss. The second attempt also gets a full timer.
Late-game survival (round 6+)
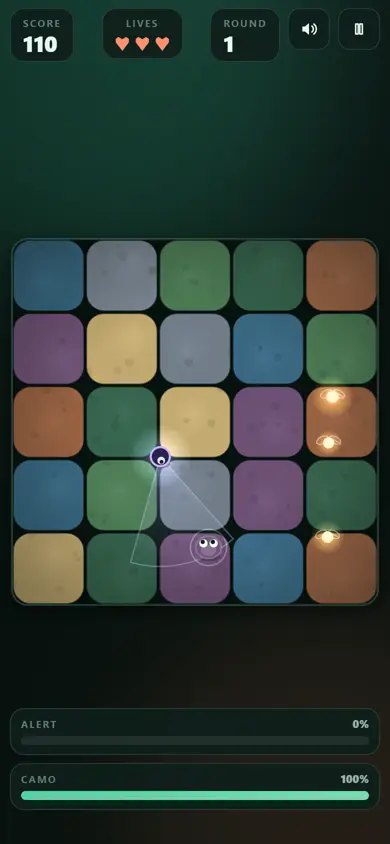
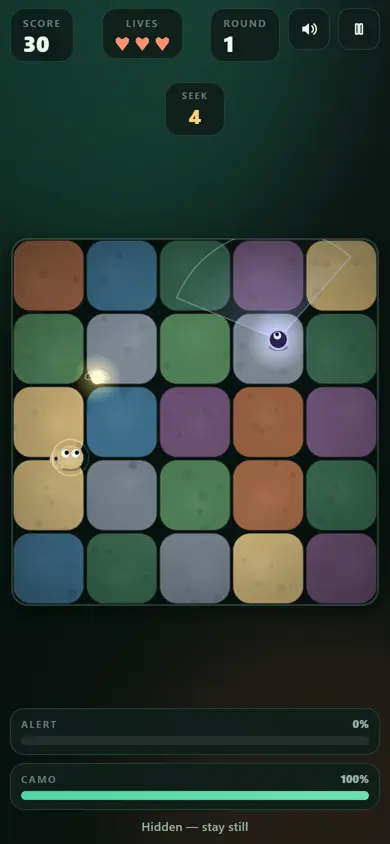
From round 6 there are four Seekers, the timer runs 23 seconds or more, and cones keep getting longer until round 13. The game turns from collecting into surviving. What works there:
- Move in short hops. Pick the next safe spot, run, let go, look. Long runs across the garden almost always cross a cone.
- Prefer ground the Seekers just left. A Seeker walking away has its cone pointed away from where it’s been.
- Lift your finger, don’t just hold still. When the creature reaches the spot you’re holding it stops walking, but as long as your finger (or mouse button) is down it still counts as moving and keeps glowing. Only letting go starts Camo.
- Count lives, not points. With one heart left, skip every firefly and play for the round bonus only.
Want the raw numbers behind these tips? They’re all on the rules page. New to the controls? Start with how to play.