Mottle Hide & Seek map: all hiding spots explained
Is there a map of every hiding spot? Not in the usual sense. Mottle takes place in one garden of 25 coloured stones, and any of them will hide you: let go, Camo fills in under a second, and a Seeker’s light can pass right over you. What makes a spot safe is when you stop and where the Seekers are looking, not which stone you pick. Here is the real arena, what in it is fixed, and how to read it as the rounds get harder.
The Mottle map: one 5 × 5 garden
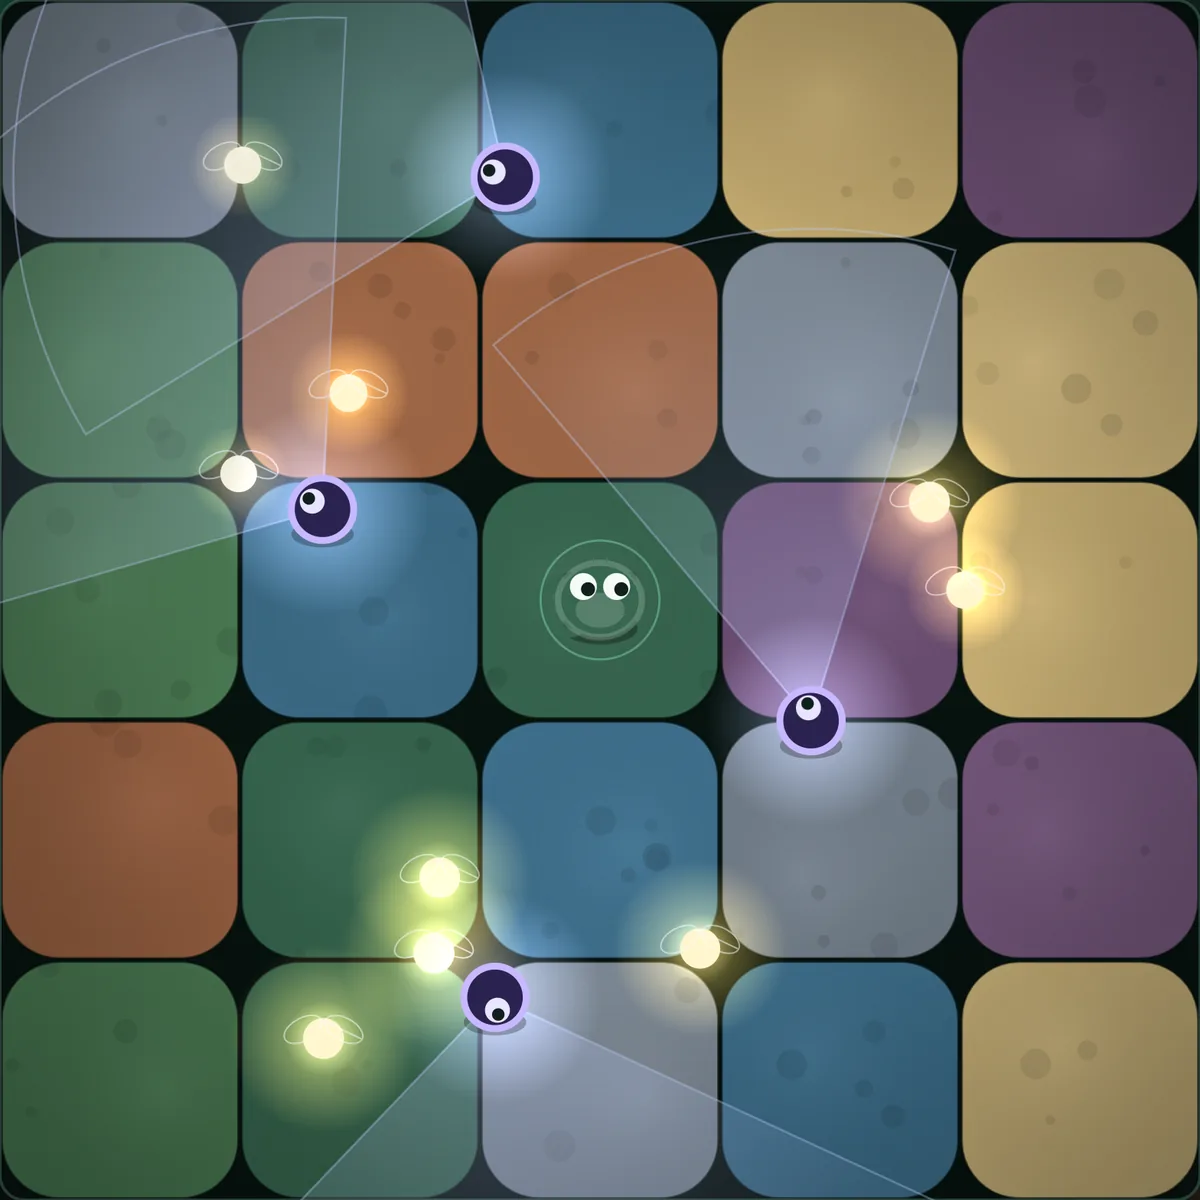
The whole game happens on this square. There are no other areas, no scrolling and nothing hidden off screen. The drawing below marks the parts that are the same in every round. We took them from the game’s own setup code and drew them over a real round-1 frame.
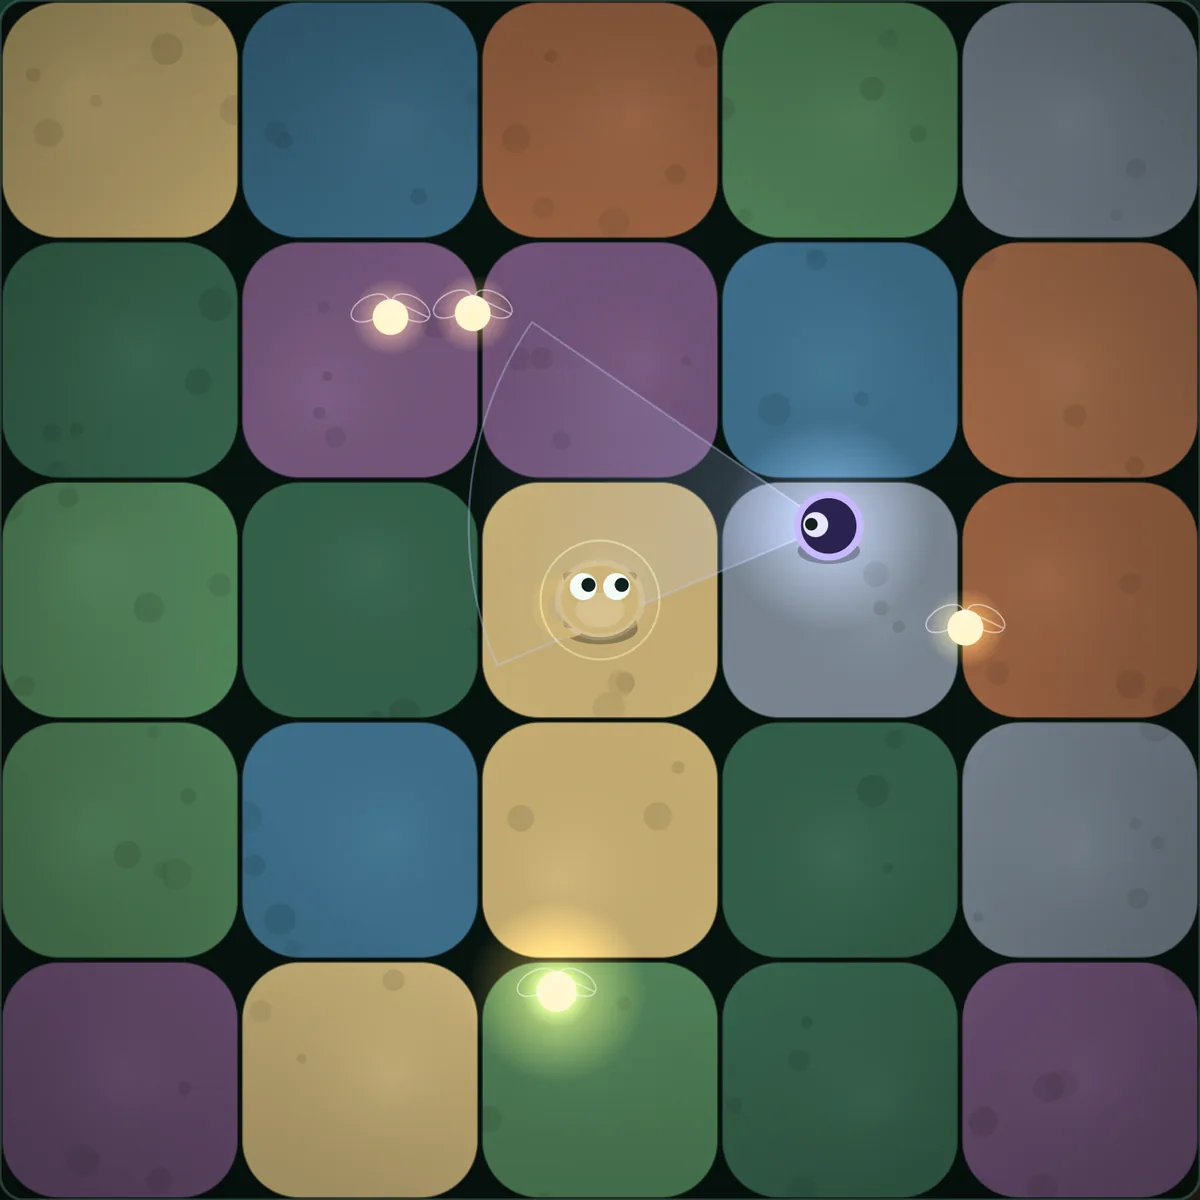
- 1You start here, on the centre stone, every round and after every catch.
- 2No fireflies inside this circle (about one stone around the start). Your first run is never zero.
- 3Seekers start on this ring, two stones out, spaced evenly and facing you. Shown: the four starting points from round 6 on. In round 1 the lone Seeker starts at the lower-right one.
- 4Fireflies and Seeker patrol points stay inside this line. Seekers only enter the outer strip when chasing you, but their cones reach into it.
What’s fixed and what changes
| Part of the arena | Fixed or changing? |
|---|---|
| Size: 5 × 5 stones, square | Fixed |
| Your starting stone (the centre) | Fixed, every round and after every catch |
| Where Seekers start | Fixed for each Seeker count: evenly spaced, two stones out, facing you |
| Stone colours | Reshuffled at the start of every new round |
| Firefly spots | New each round; the same spots again if you’re caught and replay it |
| Seeker routes | Random every time; they pick a new point after each walk or scan |
| Number of Seekers | 1 in round 1, 2 in rounds 2–3, 3 in rounds 4–5, 4 from round 6 |
So a list of “the 10 best hiding spots” would be made up. The colours under any given spot change every round, and the Seekers never walk the same route twice. What you can learn is how to read the garden in the moment.
So where are the best hiding spots?
The best hiding spot is the one you can reach and stop on before any cone gets there. Blending takes about 0.7 seconds, so “safe” means a stone no cone will touch in the next second or so. How to spot one:
- Behind a Seeker. Cones point the way a Seeker walks. Ground it has just left is out of its sight until it turns.
- Not between two Seekers. A stone where two cones could meet is where Alert fills fastest: each extra cone adds 45% to the rate.
- Away from a Seeker that has stopped. About half the time a Seeker pauses to scan, and its cone nearly doubles in width for 1.7 seconds.
- Not on a Seeker’s path while you’re moving. Running right into a Seeker gets you seen even outside its cone. Once you’re blended, it can walk past you.
- Not chosen by colour. Every stone hides you equally. Grey is no better than green.
Round 1 vs round 6+: how the map changes
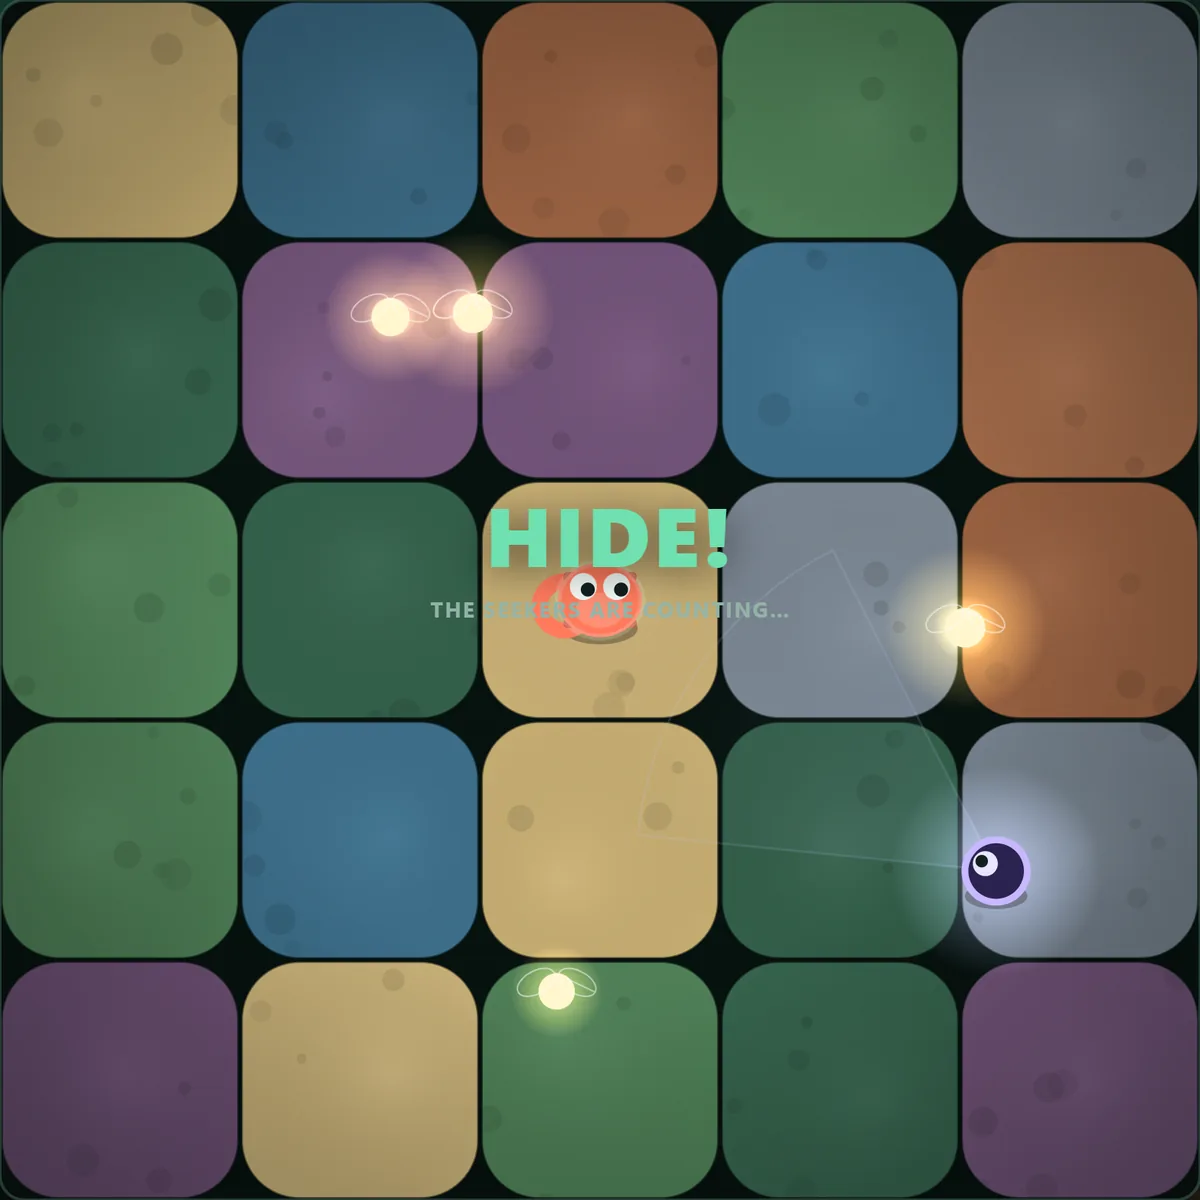
Round 1 is a lesson more than a test. The single Seeker starts at the lower right, its cone reaches about one and a half stones, and it patrols at about a third of your speed. At any moment most of the garden is unwatched, so almost every firefly can be taken. Hide when the cone turns your way; otherwise, collect.
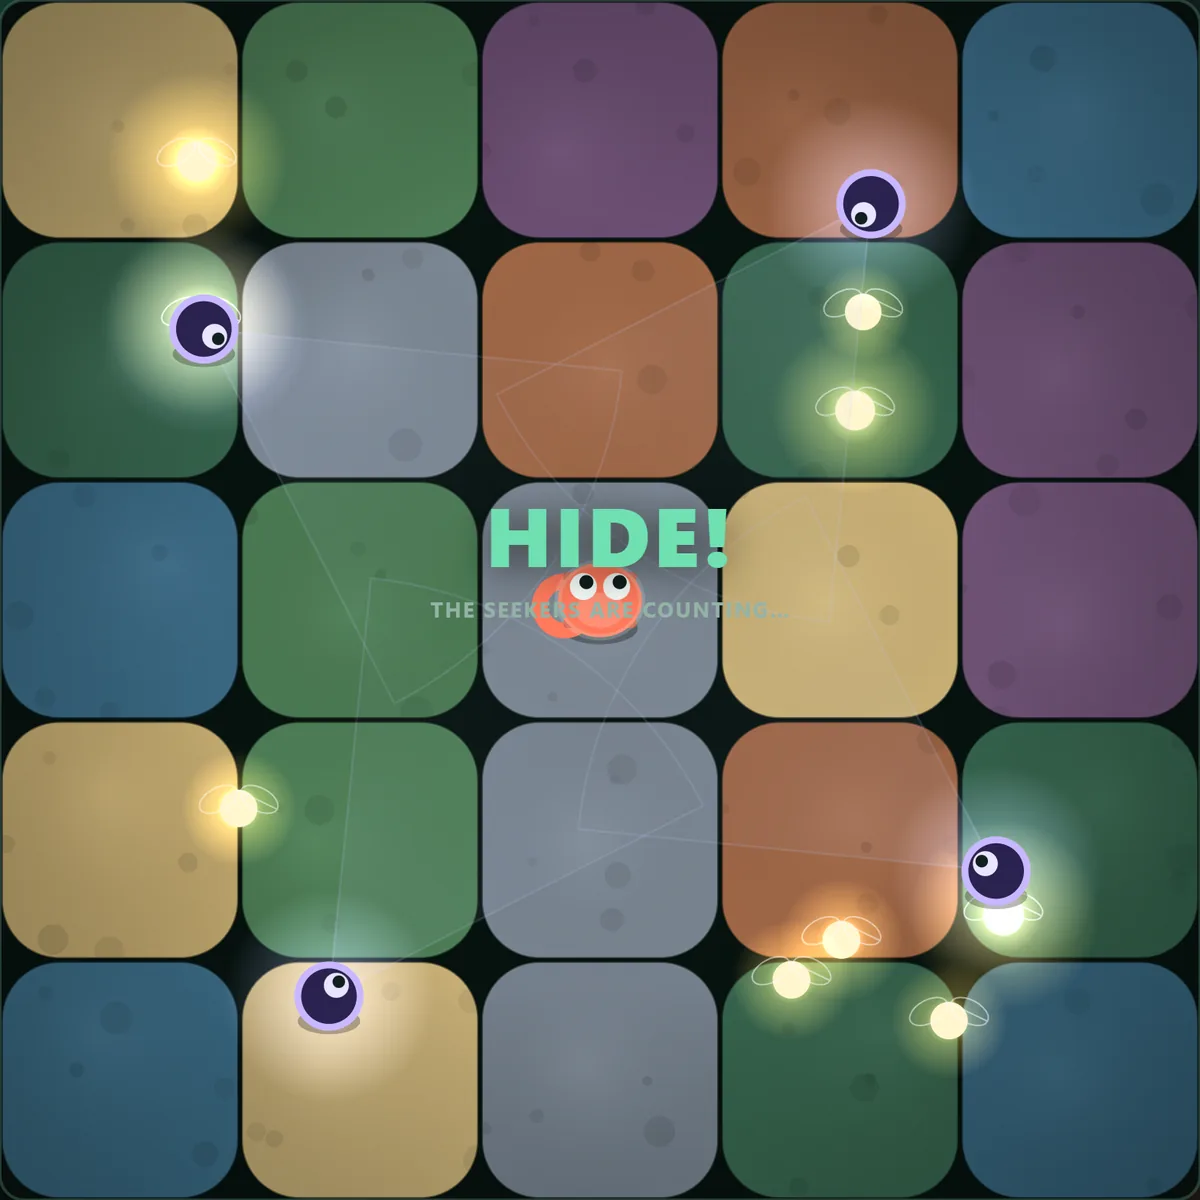
Round 6 and up is a different map in practice. Four Seekers start on four sides, each cone reaches about 1.8 stones, and the timer runs 23 seconds. There’s no longer a quiet half of the garden. The safe ground is the gaps between cones, and it moves as the Seekers move. Run one stone at a time, stop, look again.
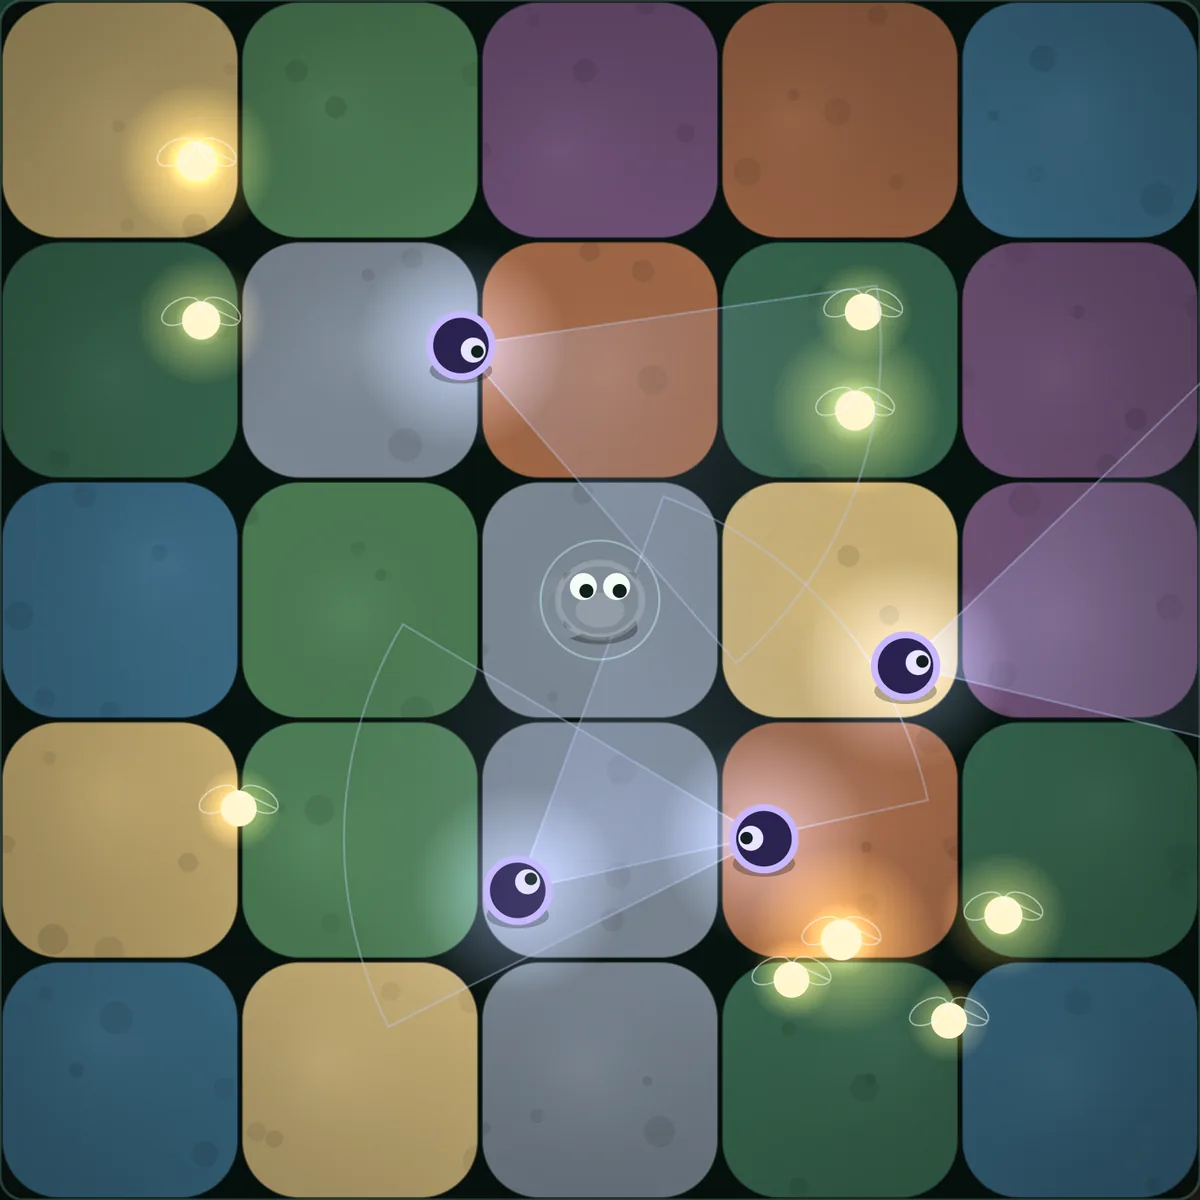
One more late-game detail: the starting cones get longer each round, and from round 10 their tips just reach the centre stone. You start blended, so it doesn’t matter if you wait, but if you move in the very first instant of “They Seek” you can be inside a cone. Give the Seekers a beat to turn away first.
Three situations, read from the map
1. Fully blended, and a cone passes over you
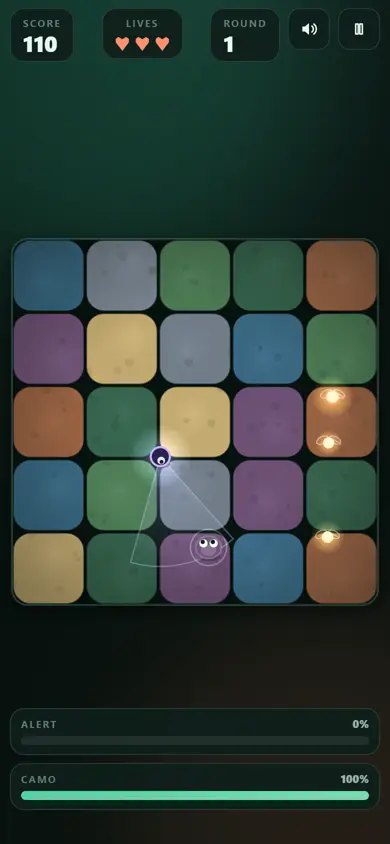
Do nothing. At 100% Camo the cone has no effect: Alert stays at zero and the Seeker carries on. This is the moment most players get caught, by moving “just a little” while the light is on them.
2. A cone is about to reach you while you’re running
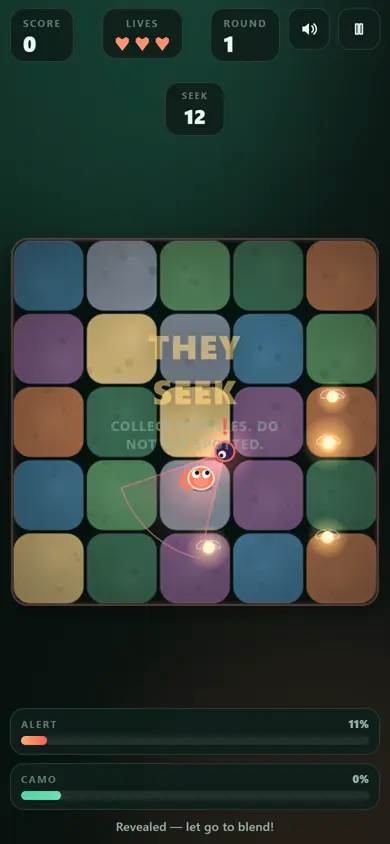
Let go now, not when it arrives. You need about 0.7 seconds to blend. Stopping inside one cone still costs about 21% Alert; stopping just before it costs nothing.
3. Several cones overlap between you and the next firefly
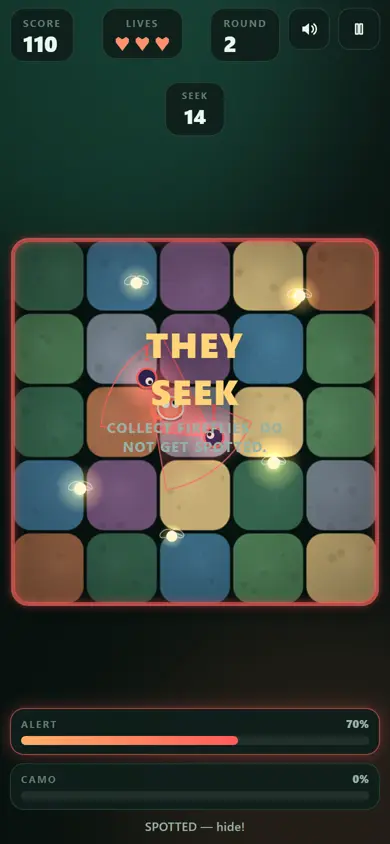
Don’t run through the overlap. With two cones on you, you’re spotted in about 1.3 seconds; with four, under one. Stay blended, wait for the Seekers to walk on, or take a firefly on the other side instead.
Common misconceptions
- “There are secret areas.” There aren’t. The garden you see is the whole game.
- “Some colours are safer.” They aren’t. The creature copies whatever stone it stops on.
- “Corners are safe.” They’re not special. Seekers don’t patrol the outer strip, but their cones reach it, and a corner leaves you fewer ways to run.
- “You have to keep moving.” The opposite. Standing still while blended is the safest thing in the game.
- “There’s a route that always works.” Seekers pick random patrol points every time, so no fixed route survives every round.
Map and hiding spot questions
Is there a Mottle — Hide & Seek map showing all hidden locations?+
Are there secret areas or hidden rooms?+
Is one colour of stone safer than the others?+
Can I stay on the same stone the whole round?+
Is there a route that is always safe?+
Next: learn the controls in how to play Mottle, then use the Alert Lab to see how long each number of cones gives you. The exact numbers behind this page are on the rules page.